

Last Updated on February 13, 2022 by Rakesh Gupta
Pardot is a new kid on the block. So, in most cases, Pardot is implemented after the initial business setup. Not surprisingly, there was life before Pardot. So, organizations have existing pre-Pardot era forms in their orgs that trigger Sales (Business) processes, Web-to-Lead (Salesforce), and Online Purchases (Online stores). Once Pardot is implemented, a decision needs to be made about how to manage pre-Pardot era forms.
But, before we proceed, if you are unfamiliar with Pardot Forms then, please visit my previous blogs. In these blogs, I will discuss how to create a form in Pardot How to create a Form that prospects actually want to fill out and I explain how to use Progressive profiling to streamline the Pardot Form process.
In this blog, we will focus on the following: What is a Pardot Form Handler?; And, when, where and why is it used?
After implementing Pardot, you have two options to manage existing (pre-Pardot era) forms:
- Completely migrate pre-Pardot era forms into Pardot Hosted Form.
- Use Form handlers to pass prospects data in Pardot.
Pardot Forms Versus Form Handlers
Pardot forms and form handlers are different. Pardot forms are designed and managed completely in Pardot. Form handlers connect Pardot to your external forms so that you can funnel prospect information into Pardot. Here are the major difference between Pardot form and form handler:
| Pardot From | Pardot Form Handler | |
| Data De-duplication | ✅ | ✅ |
| Email Address Validation | ✅ | ✅ |
| Progressive Profiling | ✅ | |
| Invisible Bot Protection | ✅ | |
| Integrate with Third-Party System | ✅ | |
| Maintain Current Lead Flow | ✅ | |
| Integrate with Salesforce Web to Lead Forms | ✅ | |
| Support Custom Front End Editing | ✅ | |
| Provide Form View/Error Data | ✅ | |
| Natively Displayed in Pardot Landing Page | ✅ | |
| Automation Rule Based on Form Views | ✅ | |
| Automation Rule Based on Form Completions | ✅ | ✅ |
| Autoresponder Emails | ✅ | ✅ |
| Redirect to Sucess URL | ✅ | ✅ |
| Supports Prospect Resubscribe | ✅ | |
| Capture Sensitive Data | ✅ |
Form Handlers
Form handlers allow you to manage forms yourself and post the data and activities to Pardot. Let us take a closer look at the second option mentioned above – the use of the existing form to pass the data to third-party applications. Under the second option, you may want to consider using a server-side post instead of migrating pre-Pardot era forms to Pardot. A server-side post occurs after the data has been captured by your existing form and posts the captured data onwards to a Pardot Form Handler. By using this mechanism, you can keep using your existing business processes intact without the need to migrate pre-Pardot era forms into Pardot.
To set up the second option, you have to create a Form Handler in Pardot to receive the fields that will be passed through your existing web form. Once the data is successfully passed to Pardot Form Handle, the prospects are tracked by Pardot in a similar fashion as if the information has been submitted directly through Pardot Hosted Form.
Whether you use Form or Form Handlers, Prospects will be tracked by Pardot in the same manner; unless and until Prospects delete the browser cookie or enable the Do Not Track feature in browsers feature. Before we look into a business scenario, let us review the difference between Forms and Form Handlers by reading this article How to create a Form that prospects actually want to fill out.

Now we have two scenarios as displayed in the preceding screenshot:
- Scenario 1: Pass the third-party web-to-lead form data directly to Pardot. And, do not pass the same data to Salesforce. This option is best if you only want to pass MQL (Marketing Qualified) prospects to Salesforce, but not all prospects.
- Scenario 2: You want to pass the same prospect data to both the systems, Pardot and Salesforce, once a prospect submits the third party web-to-lead form.
Prerequisite
We are going to use Salesforce Web-to-lead form as a third party form then, we will use Pardot Form Handler to pass the form data into Pardot.
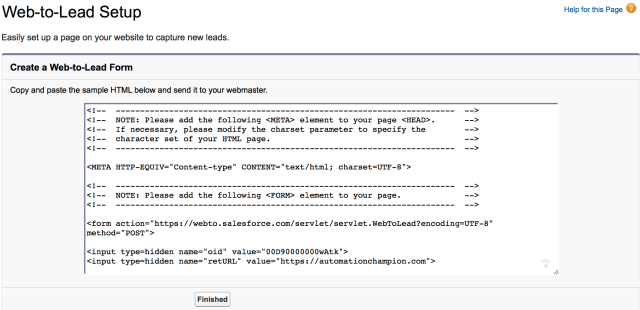
- Create a Web-to-lead form. If you do not know how to create a Web-to-lead then please refer to this article. A web-to-lead (Salesforce) should look like the following screenshot :

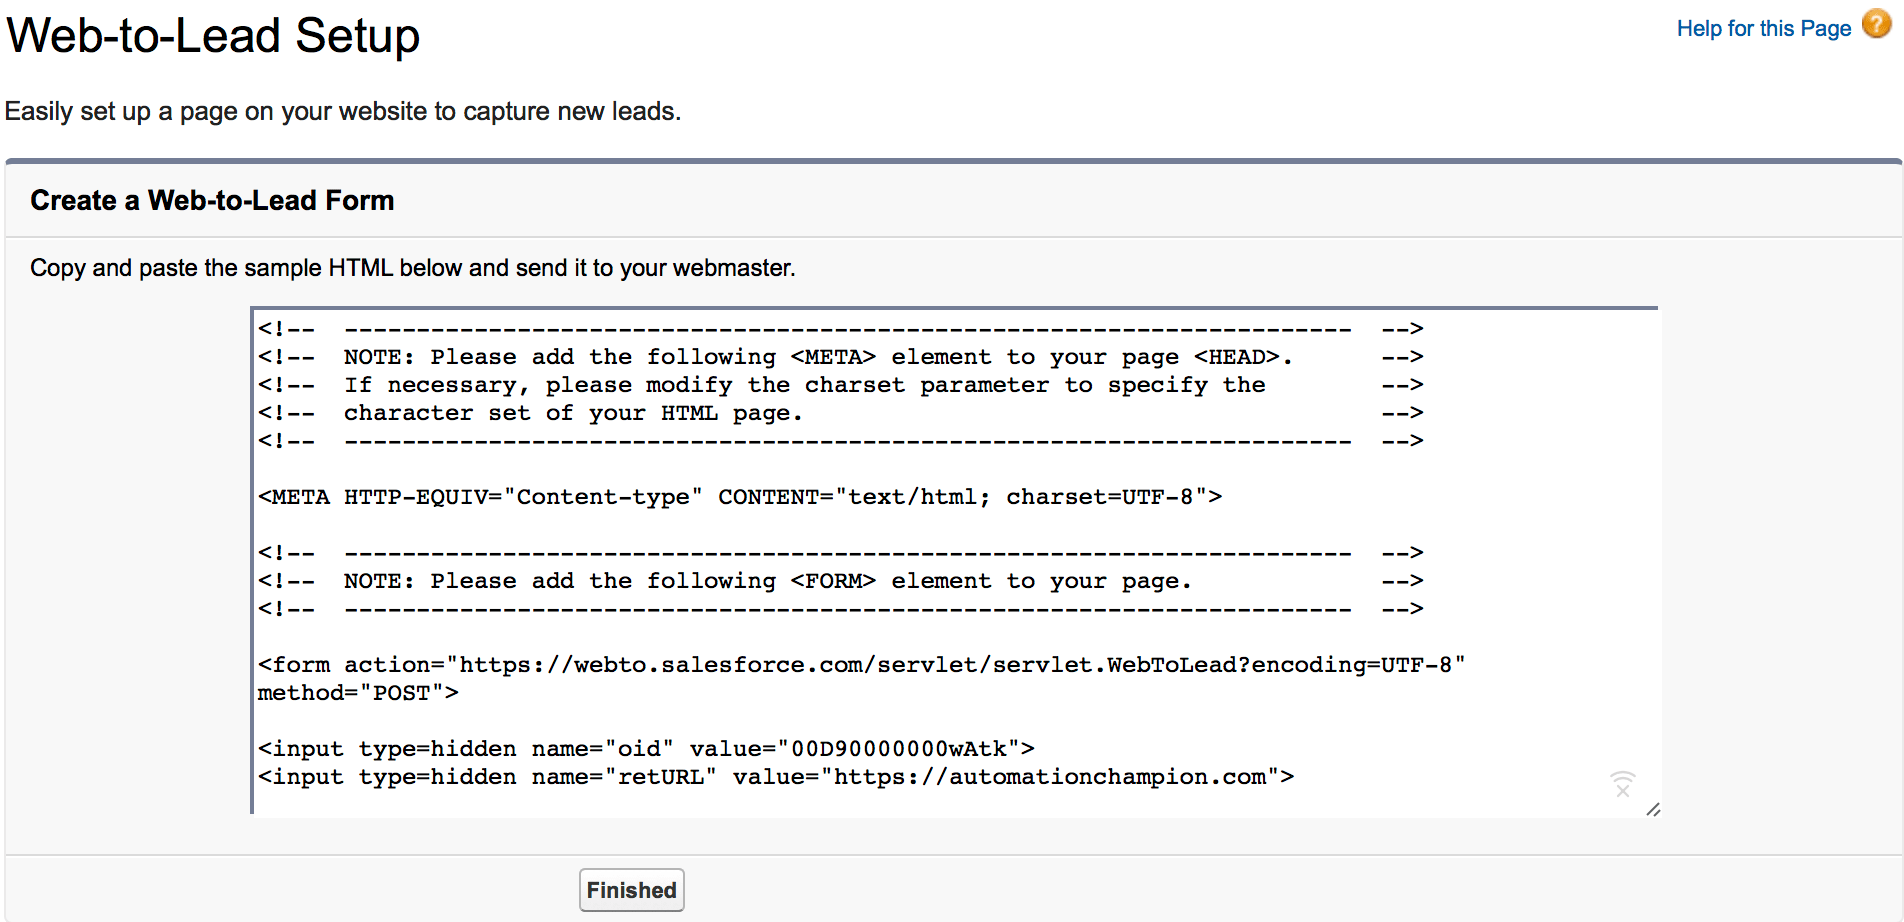
- Then click on the Generate button and then copy the HTML code into notepad, as shown in the following screenshot:
- In the end, click on the Finished Button. Make sure to save HTML code on your desktop.

Business Use Case
Let us start with a business use case. David Haditsch is working as Content Marketing Manager at GurukulOnCloud. At GurukulOnCloud, they are using Salesforce web-to-lead form to generate leads from their corporate website.
GurukulOnCloud’s web-to-lead form is heavily customized to represent their brand identity. As a result, GurukulOnCloud does not want to migrate Salesforce web-to-lead forms to Pardot Hosted Form even though Pardot Forms offer a wide range of features in comparison to a third-party form.
GurukulOnCloud decided, therefore, to use Pardot Form Handler. Furthermore, GurukulOnCloud wants to pass the prospect data to both – Pardot and Salesforce – once a prospect submits the third-party web-to-lead form. As a Pardot Consultant, we are going to help GurukulOnCloud to implement Form Handler with Salesforce web-to-lead form.
Solution for the above business requirement
To implement Form Hadler with Salesforce web-to-lead form, perform the following steps:
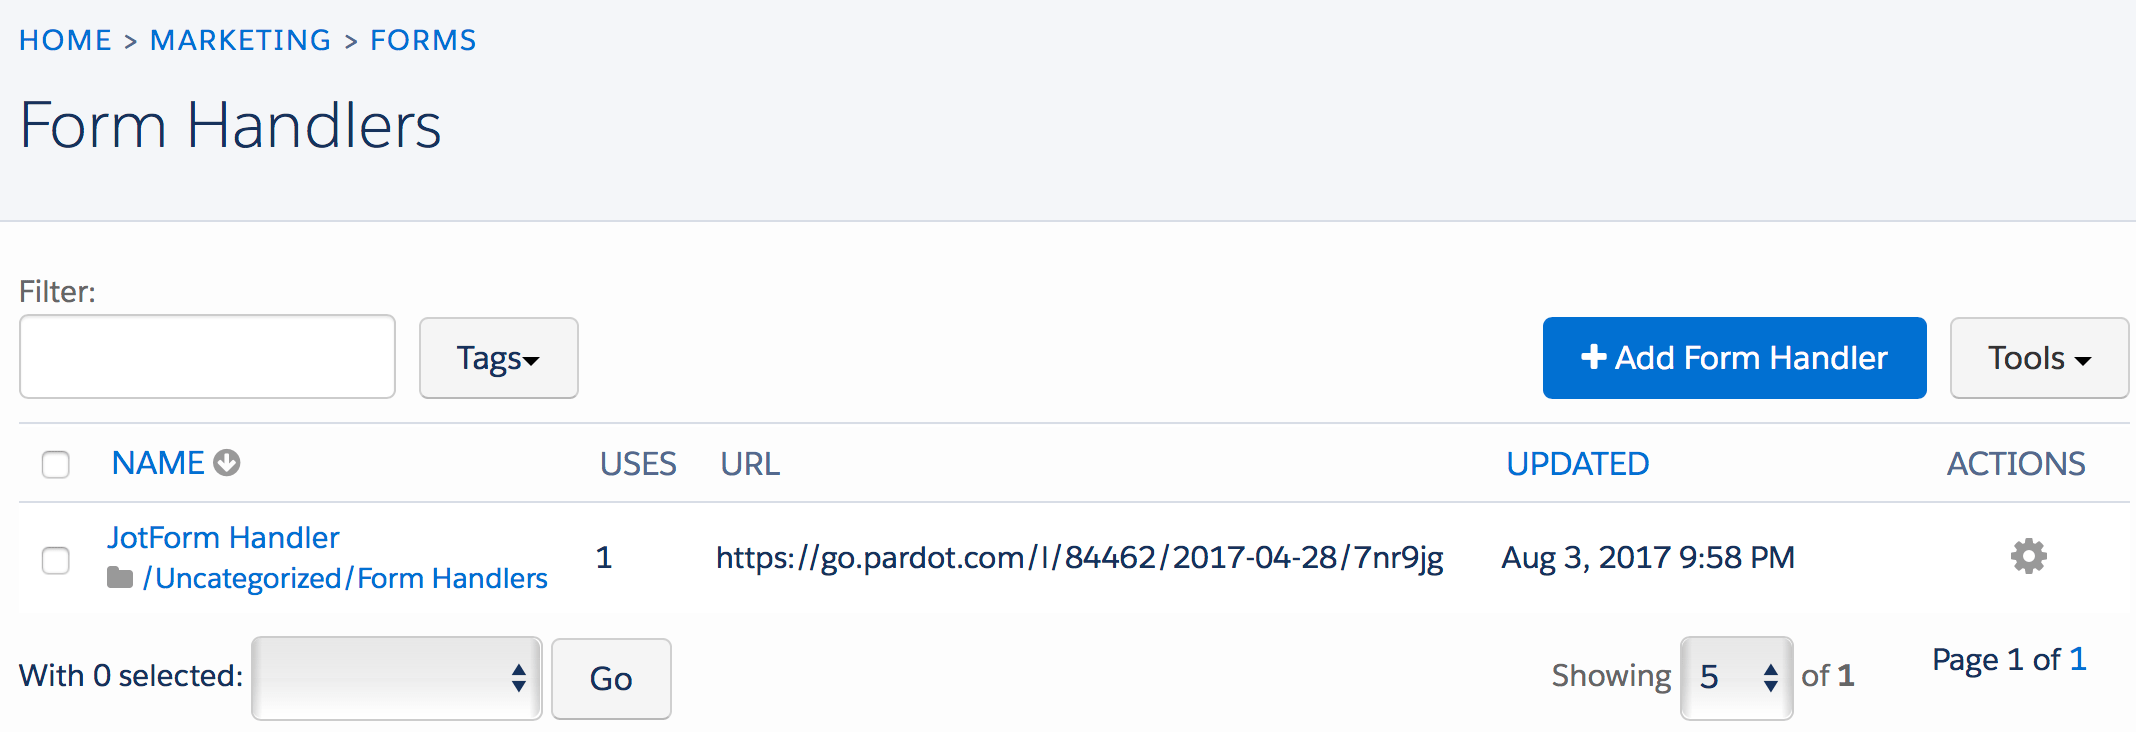
- Click on Marketing | Form Handlers
- Then click on the + Add Form Handler button, as shown in the following screenshot:

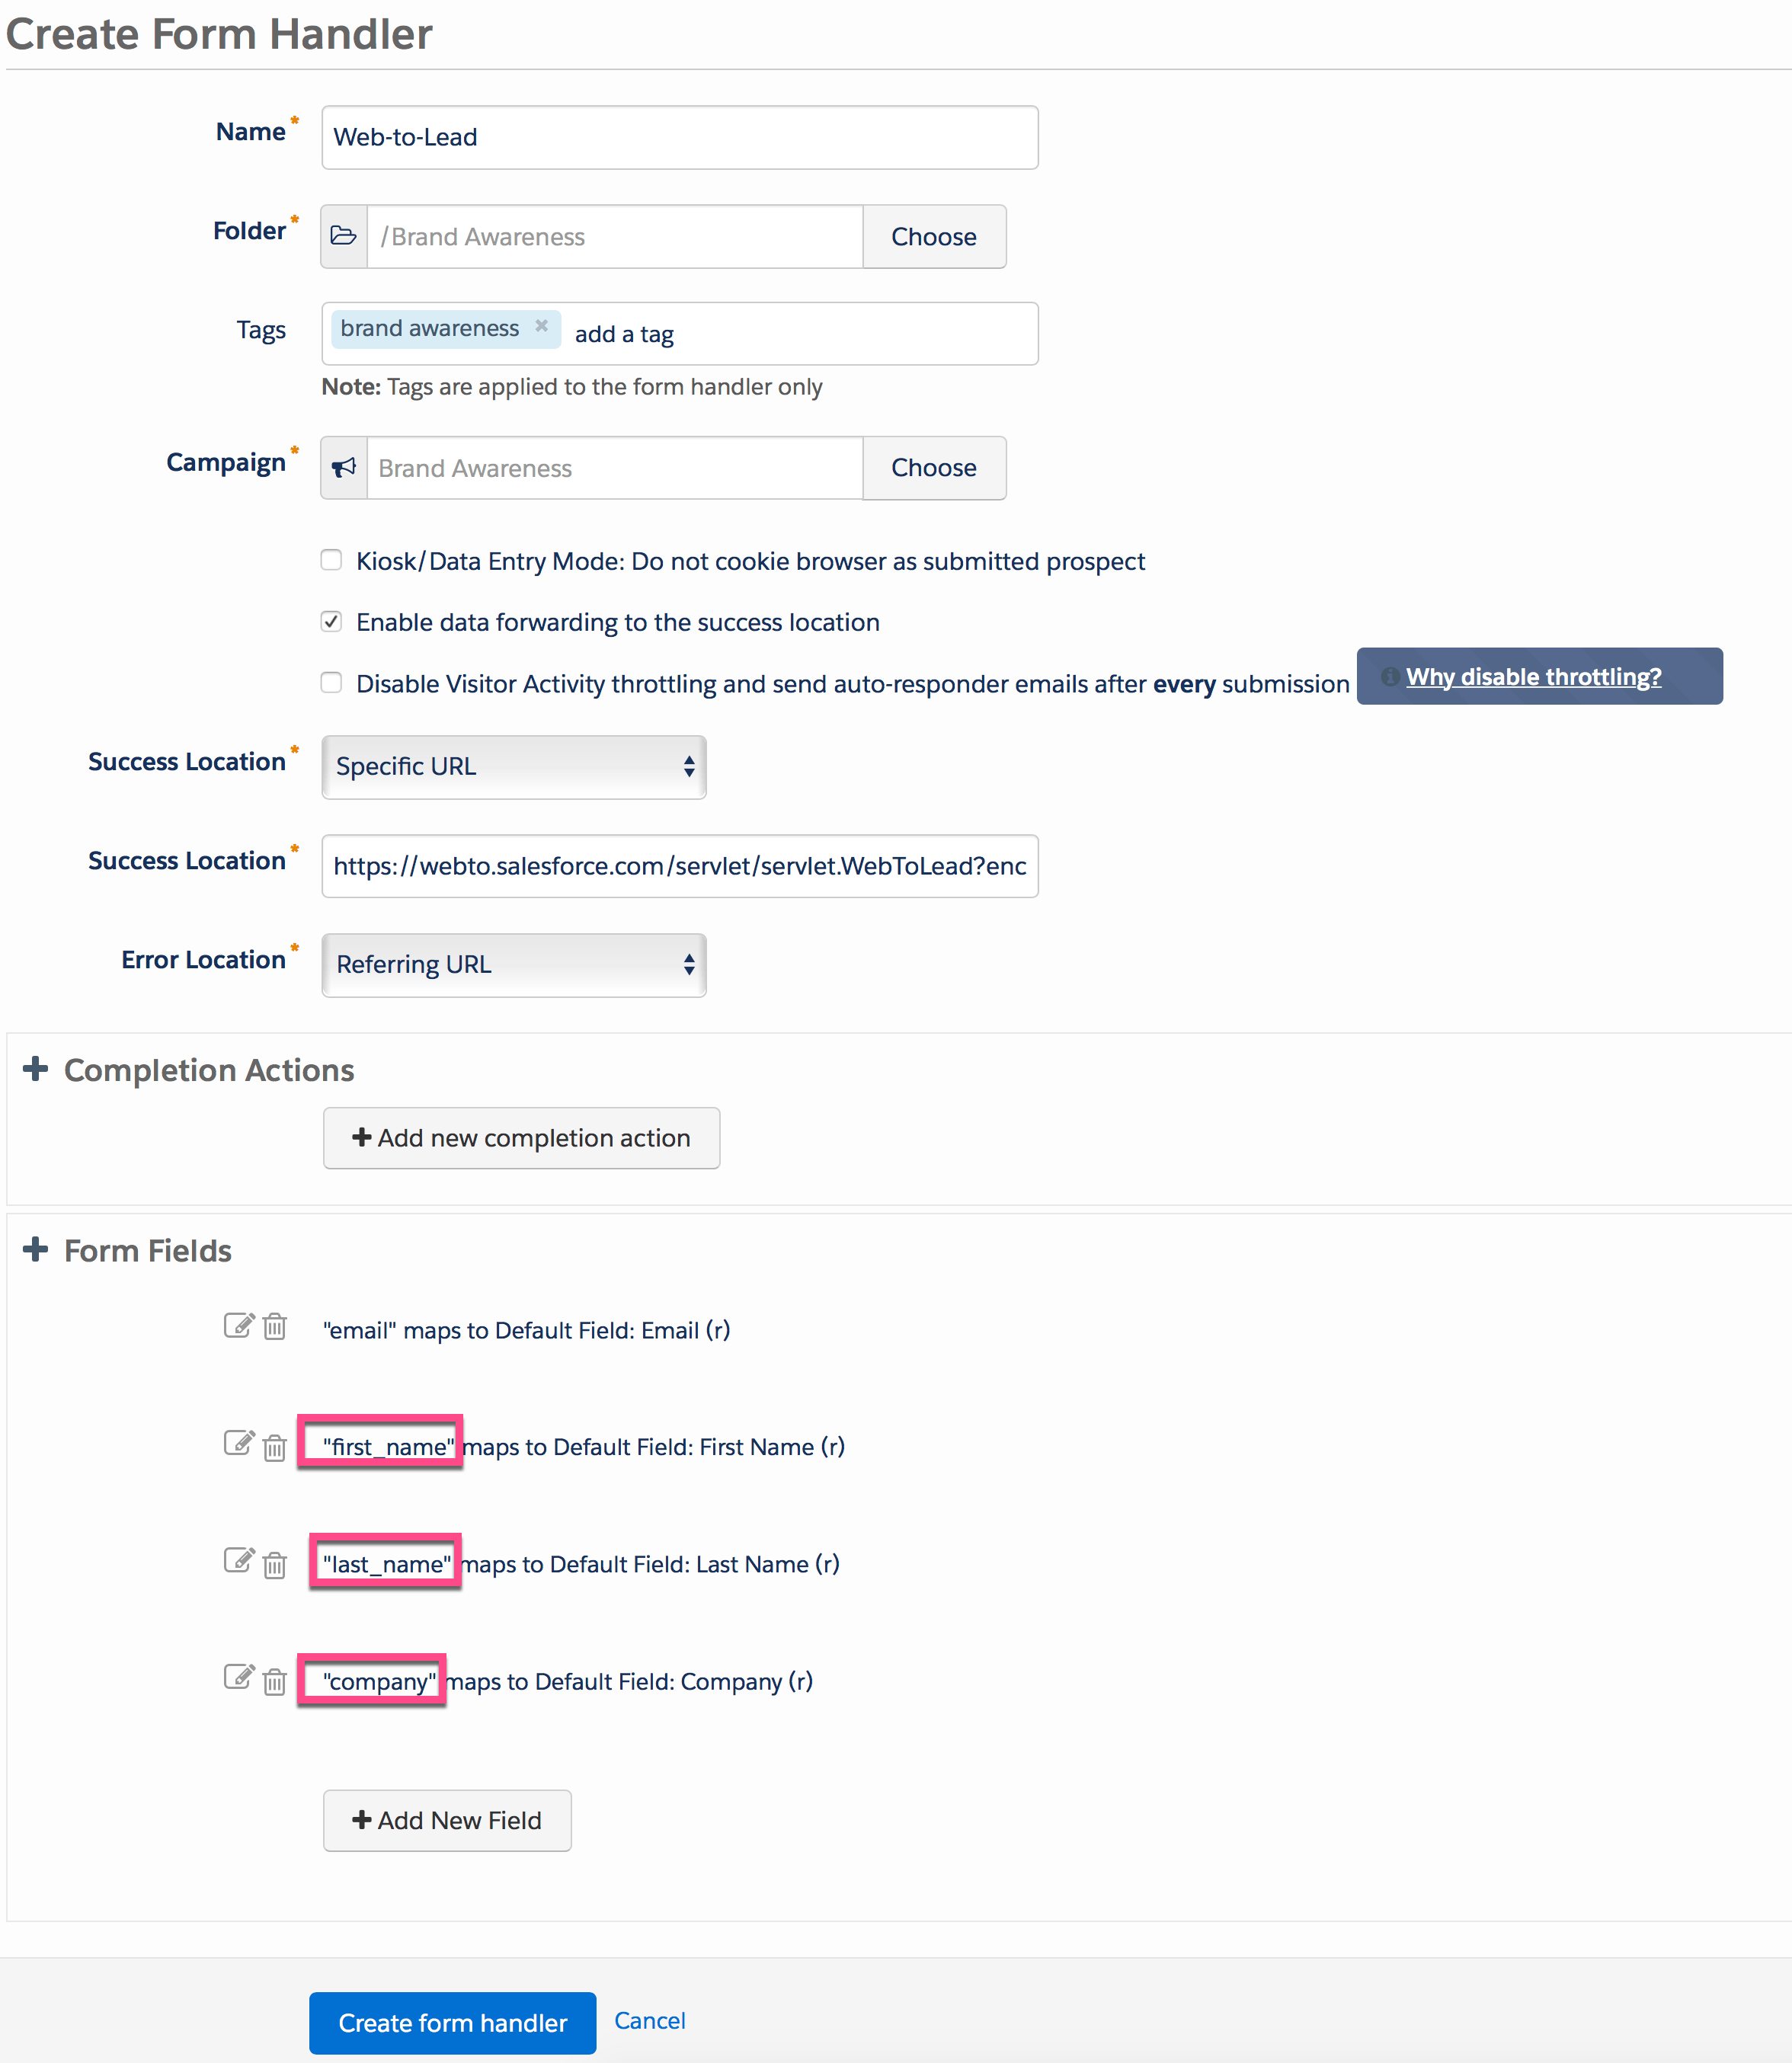
- Name for new Form Handler – for this scenario, enter Web-to-Lead as name
- Add Tags to organize your form. If you want to learn more about folders and tags then, refer to this article Overview of Folders and Tags
- Select a Folder where you want to save the form – for this scenario, select Brand Awareness (If folder does not exist, create one)
- Select a Campaign for your Form from the drop-down. For current scenario, select Brand Awareness campaign (Overview of Pardot Campaign). The next step is to enter few details, as mentioned below:
- You can also enable Kiosk/Data Entry Mode (Do not cookie browser as submitted prospect).
- Make sure to select Enable data forwarding to the success location check box, as we want to pass the same data to Salesforce. Once Pardot receives the post, the exact same data will be transferred to the location specified as the Success Location.
- The next step is to add Success Location, to specify where you want to pass the data when third party form successfully submits data to Pardot; or, where you want to redirect the prospect information when data is successfully passed to Pardot by web-to-lead form. As we also want to pass the data to Salesforce, we have to identify Web-to-lead Post URL, as shown in the following screenshot:

Use the URL mentioned in the preceding screenshot in the Success Location. - In a similar manner, you can add Error Location, to specify what is displayed once third party form fails to pass the data to Pardot.
- The next step is to define Completion Action. Completion Action allows you to take the action as soon as the prospect data is successfully passed to Pardot. Completion Actions are not retroactive for prospects who filled out the form before you added a Completion Action. Completion Action will fire over time when a form is submitted by the prospect. In my upcoming blog, I will take a deeper dive by showing you, how to add a Completion Action to your Form. At this stage, your Form Handler should look like the following screenshot:

- The next step is to add fields to Form Handler and map it with web-to-lead form fields. Before going ahead, identify the field name of the web-to-lead form fields, as shown in the following screenshot:

- The next step is to add these four fields into our Form Handler and correctly map it with web-to-lead fields.
- First Name
- Last Name
- Company
- To add a new field into Form Handler click on the Add New Field button, as shown in the following screenshot:

- This will open a pop-up for you, where you have to select Email for Prospect Field. Once a prospect selects Email for a Prospect field, rest of the field Data Format will be auto-populated based on the information in the Prospect Field. For External Field Name make sure to enter correct field name from the web-to-lead email field, as shown in the following screenshot:
 Optionally, you can add custom error message text under the Advanced tab. Once you are done with all the changes, the next step is to click on the Save Changes button.
- Repeat step 6 to add other fields to the Form Handler. Make sure that these fields are marked correctly with web-to-lead form fields.
- At the end your Form Handler should look like the following screenshot:

- Once you are done with all the changes, the final step is to click on the Create form handler button. Your form handler is now live and hosted on its own URL, as shown in the following screenshot:

- Now copy the URL i.e. (www2.automationchampion.com/l/84462/2017-08-03/88l933) in my case, as shown in the preceding screenshot.
- Now open your web-to-lead HTML form and simply change your existing form’s post URL to the URL provided by the Form Handler code, as shown in the following screenshot:

- In the end, save your web-to-lead form with the name Web-to-lead.html (use .html extension while saving the notepad HTML code) on your desktop.


It’s time to test the Form
- To test the Form Handler, open the web-to-lead form into a browser, and populate the data as shown in the following screenshot:

- Once done, click on the Submit Query button.
- If you correctly followed the above steps then the data will be passed to Pardot and you should be able to see a prospect record, as shown in the following screenshot:

- Now go to Salesforce and check out Today’s list view under the Lead tab, to find a new lead, as shown in the following screenshot:


–> When a visitor submits a form in Kiosk Mode, Pardot looks for prospects with a matching email address. If there are multiple matching prospects, the submission will be associated with the prospect that has the most recent Last Activity field value. If the prospect with the most recent Last Activity field value is in the Recycle Bin, then, the prospect will be undeleted. If, however, there are no matches found, Pardot will create a new prospect.
–> If you do not want to pass the data to Salesforce or any other system then, do not select Enable data forwarding to the success location check box.
In my next blog, I will take a deeper dive by showing you how to setup Tracker Domain.
Proofreader: - Munira Majmundar
Please feel free to share it with your family, friends, and colleagues!


Hi Rakesh! this was very helpful.
Our sales team are looking to have “existing customers” come in as new leads when they submit a form-handler.
Just wondering, can we use use this i.e. Success Location to Salesforce.
Does that create them as new leads or would it just update the Salesforce contact records instead?
Sorry for not replying earlier. Please let me know if you still need help.
hi,
if i use webtolead form + pardot handler, the lead will be created in both salesforce and pardot.
But my pardot org allow multiple prospects with the same email address.
Is there a risk to have duplicates?
I fill in the form, then one lead is created in Pardot + in salesforce (which will then also create a prospect in pardot)
No, we aren’t using any automations in Salesforce or Pardot that would override that field value.
Hi Rakesh! This is a very helpful article — the best, most complete walkthough of the process of using Pardot form handlers with Salesforce Web-to-Lead that I’ve found.
All of the above steps work great, but when I try to use custom fields — e.g., “Subsource” — the data doesn’t successfully get passed to Salesforce despite using the field name exactly as it’s presented in Salesforce.
Thanks for your word of encouragement, Andy!
Do you have any automation rule in Salesforce which may override the field value?