

Last Updated on May 12, 2023 by Rakesh Gupta
The moment many Salesforce professionals have been waiting for has finally come: Salesforce DevOps Center GA! But before you install DevOps Center in your org and start using it to deploy metadata, let’s discuss how to make the most of it.
Some of the most important ways to maximize DevOps Center include using collaborative work management and DevOps Center’s version control tool. In addition, you should leverage lower-level environments with source tracking enabled. Lastly, you can benefit from DevOps Center’s capabilities for enhanced collaboration between low-code and pro-code developers.
Maximize Salesforce DevOps Center
With the GA of Salesforce DevOps Center, Salesforce has given us a whole new way of performing release management in Salesforce. DevOps Center provides a faster, more accurate method for promoting metadata components than change sets—which were, of course, the bane of many admin’s lives.

But that’s not all it does! As the name implies, DevOps Center allows you to implement DevOps best practices in your Salesforce change management process—from an admin-friendly, point-and-click UI. Let’s look at the most important tools and capabilities you can use to accomplish this.
Collaborative Work Management
Programmatic teams who are well versed in DevOps methodology typically use a collaborative work management tool to create, track, and manage projects. It provides a single source of truth for everyone on the team to develop against.
With collaborative work management, you can significantly streamline releases because you can easily monitor the progress of a project and pinpoint any issues or bottlenecks that might develop.
Work Items
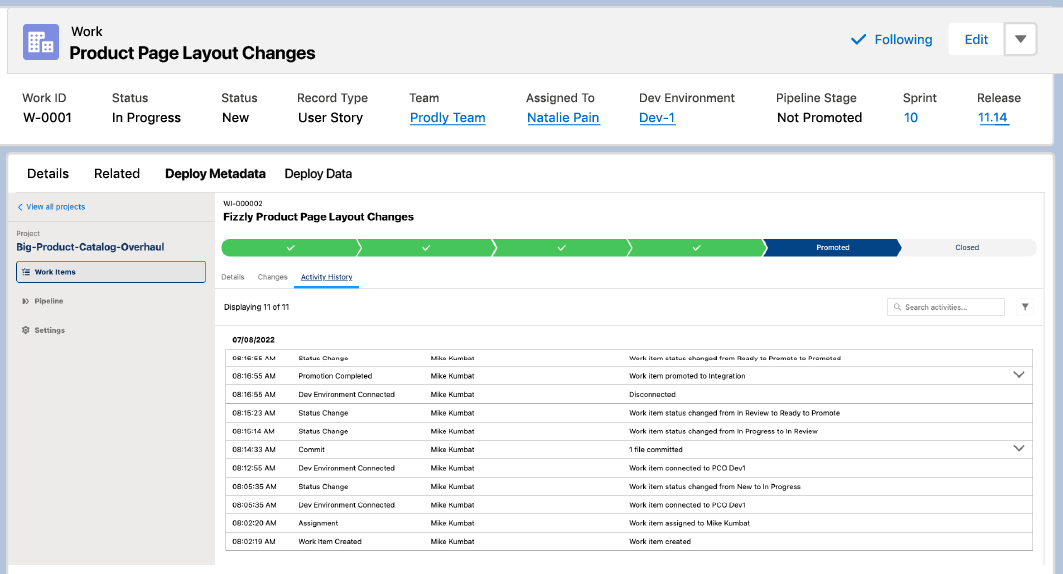
DevOps Center enables collaborative work management—to a certain degree—by providing work items for you to assign tasks in a project. You and the rest of your team can add notes to these tasks so you know what was changed, why, when, and by whom. When you’ve successfully performed the task associated with a work item, you can mark it “completed” and move on to the next one.
However, many developers who have used more mature collaborative work management tools in the past find work items to be rather limited.
Fortunately, with Prodly DevOps, you can use Jira to keep more extensive documentation to provide visibility into the history of a component or app. This is extremely helpful for troubleshooting and updates—plus, it’s valuable for financial regulatory compliance purposes such as SOX compliance. Even better: You can do all this from one single UI—so you don’t have to go back and forth between screens anymore.
Version Control
DevOps Center uses your repository in GitHub as a version control system (VCS). A VCS is a tool that lets you track and manage changes to Salesforce at a super-granular level. Every change is recorded in real time while the older versions are still retained. It’s like version history in a Google Doc tracking every character as you type.

This has two benefits: You can always refer to the record of the changes in the event of a financial audit—like a SOX audit—or discrepancy. Plus, you can use it for root cause analysis. Having the change history stored in the VCS lets you easily revert to a previous version if a specific change isn’t working the way you want it to—without having to roll back your entire org.

For example, let’s say you’ve added a status field to the Contact object so that when your sales reps log tasks to contacts they’re emailing, the status is supposed to show as “working.” But it doesn’t. You can refer to your VCS to see what changed, as well as precisely when, so you can fix the issue and backfill the status of all the contacts that were affected. If the change happened two days ago, all you have to do is look at contacts where a task was created in the past two days.
Leverage Lower-Level Environments With Source Tracking Enabled
Salesforce requires the use of lower-level environments—i.e. Developer sandboxes and scratch orgs—as development environments in DevOps Center. In fact, when you set up your release pipeline, you’ll need a minimum of a production org and some development environments.
Source Tracking
You need to enable source tracking in your development environments. That way, you can always see a list of components you create, update, or delete between your local environment and scratch org or sandbox. Note that DevOps Center does not support source tracking for sandboxes associated with other stages of the pipeline.

The Benefit of Using Dedicated Development Environments
The benefit of using lower-level orgs as dedicated development environments is that it makes it easy to give everyone on the team their own org to work in. That way, team members don’t step on each other’s toes or overwrite each other’s work.
Scratch Orgs
A scratch org is a temporary, disposable org with a maximum lifespan of 30 days. You use it to work on one small build, and after you’ve promoted your changes, you simply walk away.

Pro-code developers have been using scratch orgs for quite some time. However, because until recently, you could only create them using Salesforce DX, admins typically weren’t able to use them.
That’s why Prodly has released a point-and-click scratch org feature that lets you quickly spin up a scratch org with all the right packages, metadata, and fully-seeded data—without any code whatsoever! Check out this video to see how it works.
Enhanced Low-Code/Pro-Code Collaboration
Salesforce designed DevOps Center specifically to make it easier for low-code developers and pro-code developers to work together in a hybrid workflow. Basically, DevOps Center enables everyone to leverage modern release management practices—whether they understand source-drive development or not.
Admins and other low-code developers can track and deploy their changes with “clicks, not code” in DevOps Center. At the same time, pro-code developers can still work in the programmatic tool of their choice.
Salesforce DX works nicely with DevOps Center via this command:
sf deploy pipeline
If you’re a pro-code developer, you can use the CLI plugin to complete your entire deployment outside of DevOps Center—while your low-code colleagues can see the updates inside of DevOps Center in real time.
Conclusion
DevOps Center might be a better alternative to change sets, but if you’re serious about using DevOps for Salesforce change management, you need a single source of truth for both data and metadata.
Why? Because if you’re using apps that don’t rely on metadata—like Salesforce CPQ, Enterprise Territory Management, and nCino—you’re making changes to the complex relational record data that they’re built on. You can’t use DevOps Center to promote these changes—and Salesforce doesn’t yet provide a frictionless way to leverage DevOps methodologies for data.
That’s why Prodly DevOps integrates seamlessly with DevOps Center—so you can deploy all your work from one single interface. It provides version control for data and complex relational record data—plus, it includes sandbox management, sandbox seeding, and 1-click scratch org creation. Learn more about Prodly DevOps!
Formative Assessment:
I want to hear from you!
What is one thing you learned from this post? How do you envision applying this new knowledge in the real world? Feel free to share in the comments below.


One thought on “Make the Most of Salesforce DevOps Center”