

Last Updated on March 17, 2022 by Rakesh Gupta
Big Idea or Enduring Question:
What if your use case requires you to use DOESN’T CONTAINS operator in Flow?
With a sigh, you may want to remind me that, in Salesforce Flow, one cannot use the DOESN’T CONTAINS operator to filter the records!
My response? – So, what! We are savvy Salesforce users, aren’t we? If so then, why not improvise?!!! Let us be creative and think out-of-the box – after all, we are Salesforce Ninja for nothing!
Salesforce Flow indeed is one of the most powerful tools provided by Salesforce to implement business requirements declaratively. If so then, let us build on that by creatively repurposing elements within Salesforce to do things that, at a first glance, may not seem doable!
In this article, I am going to share my tricks with you to show you how you can use DOESN’T CONTAINS operator in Flow. Let us start with a business use case.
The CONTAINS function compares 2 text strings and is widely used in Flow, Validation Rule, Process Builder, and Workflow Rules to search for a character or string in a text field.
For Example,
CONTAINS(NextStep,”Invoice”)
Returns TRUE if the word, “Invoice”, is found anywhere in NextStep.
Objectives:
This blog post will help us to understand the following
- When should you use Before-Save vs After-Save Record-Triggered Flow?
- Use a Decision element to filter out the result using the DOESN’T CONTAINS operator.
- Use After-save Record-Triggered Flow to create a record.
Business Use Case
Brenda David is working as a System Administrator at Universal Containers (UC). She has received a requirement from the management to auto-create a Task when the ‘NextStep’ field – on the Opportunity object – is updated and it doesn’t contain words like Closed or Lost.
- Task Due Date = Opportunity Close Date
Automation Champion Approach (I-do):
There are multiple ways to solve the above business requirement. You can either use Apex trigger, Salesforce Flow, Process Builder, and more.
To solve this requirement, we will use the After-save Record-Triggered Flow. Check out this article to understand why we are using after-save record-triggered flow for this scenario.

Before discussing the solution, let me show you a diagram of a Process Flow at a high level. Please spend a few minutes going through the following Flow diagram and understand it.
Let’s begin building this automation process.
Guided Practice (We-do):
There are 3 steps to solve Brenda’s business requirement using After-save Record-Triggered Flow. We must:
- Define Flow properties for Record-Triggered Flow.
- Add a decision element to check the NextStep field.
- Add a create records element to create Task on Opportunity.
Step 1: Salesforce Flow – Define Flow Properties
To reiterate – our requirement is to create a record on the (Task) object when the NextStep field on the Opportunity object is updated. In this case, we have to use the After-Save Flow on FeedItem because we are creating a record on the related object (Task) after the Opportunity Object is changed.
- Click Setup.
- In the Quick Find box, type Flows.
- Select Flows then click on the New Flow.
- Select the Record-Triggered Flow option and click on Next and configure the flow as follows:
- How do you want to start building: Freeform
- Trigger the Flow When: A record is created or Updated
- Run Flow: After the record is saved

- Object: Opportunity
- Condition Requirements: None
- Click Done.


Step 2: Salesforce Flow – Using Decision Element – Check the NextStep Field
Now add the Decision element to check whether the NextStep field contains words like ‘Closed’ or ‘Lost’. We will use custom logic to check ‘DOESN’T CONTAINS’. Use the following screenshot as a guide to step through the process:
- Under Toolbox, select Element.
- Drag-and-drop Decision element onto the Flow designer.
- Enter a name in the Label field; the API Name will auto-populate.
- Under Outcome Details, enter the Label the API Name will auto-populate.
- Condition Requirements to Execute Outcome: Custom Condition Logic Is Met
- Condition Logic: 1 AND NOT(2) AND NOT(3)
- Row 1:
- Resource: {!$Record.NextStep}
- Operator: Is Changed
- Value: {!$GlobalConstant.True}
- Click Add Condition
- Row 2:
- Resource: {!$Record.NextStep}
- Operator: Contains
- Value: Closed
- Click Add Condition
- Row 3:
- Resource: {!$Record.NextStep}
- Operator: Contains
- Value: Lost
- Row 1:
- Click Done.

Step 3: Salesforce Flow – Create Records – Add a task to on the Opportunity object
The next step is to create a task on the Opportunity object. For this will use the Create Records element.
- Under Toolbox, select Elements. Drag and drop Create Records onto the canvas.
- Input the following information:
- Enter Label the API Name will auto-populate.
- How Many Records to Create: One
- How to Set the Record Fields: Use separate resources, and literal values
- Object: Task
- Set Field Values for the Entity Subscription
- Row 1:
- Field: ActivityDate
- Value: {!$Record.CloseDate}
- Add Field
- Row 2
- Field: WhatId
- Value: {!$Record.Id}
- Add Field
- Row 3
- Field: OwnerId
- Value: {!$Record.OwnerId}
- Add Field
- Row 4
- Field: Status
- Value: Not Started
- Add Field
- Row 5
- Field: Priority
- Value: Normal
- Row 1:
- Click Done.

In the end, Brenda’s Flow will look like the following screenshot (I turned on Auto-Layout) for this flow:

Once everything looks good, perform the steps below:
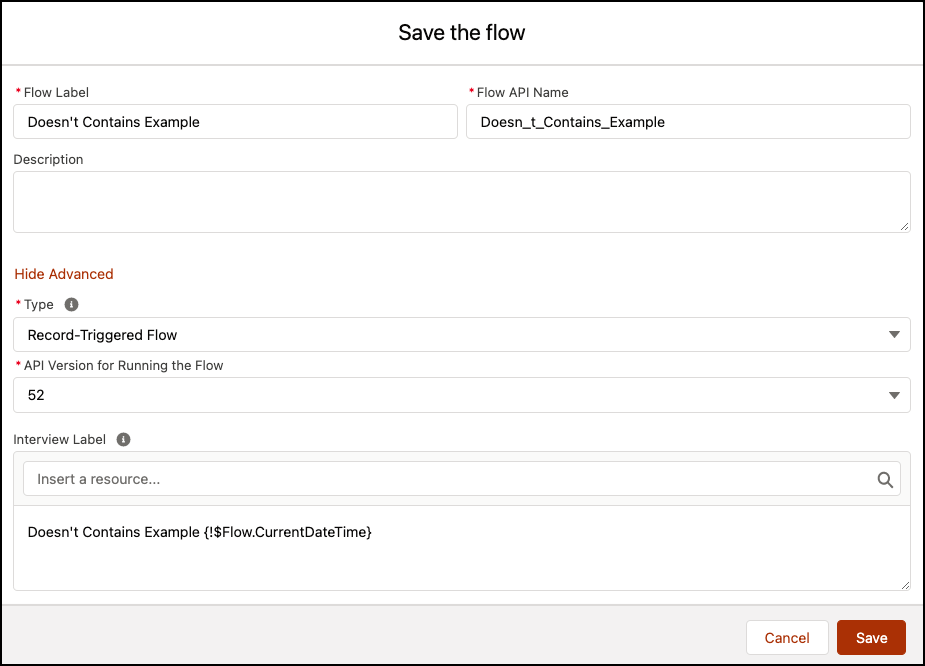
- Click Save.
- Enter Flow Label the API Name will auto-populate.
- Click Show Advanced.
- How to Run the Flow: System Context Without Sharing-Access All Data
- Type: Screen Flow
- API Version for Running the Flow: 52
- Interview Label: Doesn’t Contains Example {!$Flow.CurrentDateTime}
- Click Save.
Almost there! Once everything looks good, click the Activate button.
Proof of Concept
Now onwards, whenever a user updates the NextStep field on the Opportunity object, and it doesn’t contain the word closed or Lost then, the Flow will auto-create a task for it! Voila!!

Formative Assessment:
I want to hear from you!
What did you learn from this post, is it relevant to you, and how will you modify the concepts taught in the post for your own business processes?
Make a post and tag me on Twitter @automationchamp using #AutomationChampionFlow.
Author: - Rakesh Gupta
Technical Editor: - Munira Majmundar


One thought on “Upskill on Flow – Learn How to Use DOESN’T CONTAINS Operator – and Show-Off!”