


Last Updated on December 25, 2022 by Rakesh Gupta
Big Idea or Enduring Question:
- How do you add a lookup field from the object with a lookup filter applied to Screen Flow?
So far, we have discussed various use for using different lookup component fields:
- What? Use Lookup Field into a Flow Screen Element?!!.
- Select Multiple Records in the Lookup Component
- Create Filtered Lookup with Choice Lookup
This article goes a step ahead and explains how to configure the lookup field from your object that may have a lookup filter.
Objectives:
After reading this blog, you’ll be able to:
- Create a Screen Flow and add a Screen element to it.
- Add a lookup supported with record fields.
- Bring the lookup filter that you’ve applied on the source field directly into the screen flow.
- And much more
Business Use case
Edward Backhouse is working as a System Administrator at Gurukul on Cloud (GoC). He has received the following requirement from the management:
- Add a screen flow on the home page that allows users to select an account when creating an opportunity.
- Apply the same lookup filter to the screen flow lookup component that is applied to account lookup on the opportunity object.
Automation Champion Approach (I-do):
With the Spring’23 release, it is now possible to add your object’s lookup fields directly onto the screen flow.
Use the chart provided by Adam White to understand when to use which lookup component.

Before discussing the solution, let me show you a diagram of a Process Flow at a high level. Please spend a few minutes going through the following Flow diagram and understand it.

Guided Practice (We-do):
There are 4 steps to solve Edward’s business requirement using Screen Flow. We must:
- Set Up Restrictions with Filters for Account Lookup on Opportunity
- Define flow properties for screen flow
- Add a record variable of type opportunity to see available fields
- Add a Screen element
- Populate the record variable to add record fields to the screen
- Add the Account ID field onto the screen
Step 1: Set Up Restrictions with Filters for Account Lookup on Opportunity
The GoC sales manager asked Edward to restrict users when they’re selecting a related account for an opportunity. Set up the filter on account lookup, so users can only choose accounts that start with A.
- Click Setup | Object Manager.
- In the Quick Find box, type Opportunity.
- Select Fields & Relationships, then click on the Account Name.
- Click on Edit and configure the filter as shown in the following screenshot:
- Field: Account Name: Account Name
- Operator: Starts with
- Value/Field: Value
- Value: A
- Click Save.

Step 2: Define Flow Properties
- Click Setup.
- In the Quick Find box, type Flows.
- Select Flows, then click on the New Flow.
- Select the Screen Flow option and click on Create and configure the flow.
- It will open the flow designer for you.
Step 3: Add a Record Variable of Type Opportunity
- Under Toolbox, select Manager, then click New Resource to create a record variable of type opportunity to see available fields
- Input the following information:
- Resource Type: Variable
- API Name: varR_Opportunity
- Data Type: Record
- Object: Opportunity
- Check Available for Input
- Check Available for Output
- Click Done.

Step 4: Add a Screen Element
- On Flow Designer, click on the +icon and select the Screen element.
- Input the following information:
- Enter Label the API Name will auto-populate.
- Click Done.

Step 4.1: Populate the Record Variable to Add Record Fields to Screen
- Under Fields section on Screen Element.
- Input the following information:
- Record Variable: {!varR_Opportunity}

Step 4.2: Add the Account ID Field onto the Screen
- Under Fields section on Screen Element.
- Drag and drop the Account ID onto the screen.
- Click Done.

In the end, Edward’s Flow will look like the following screenshot:

Once everything looks good, perform the steps below:
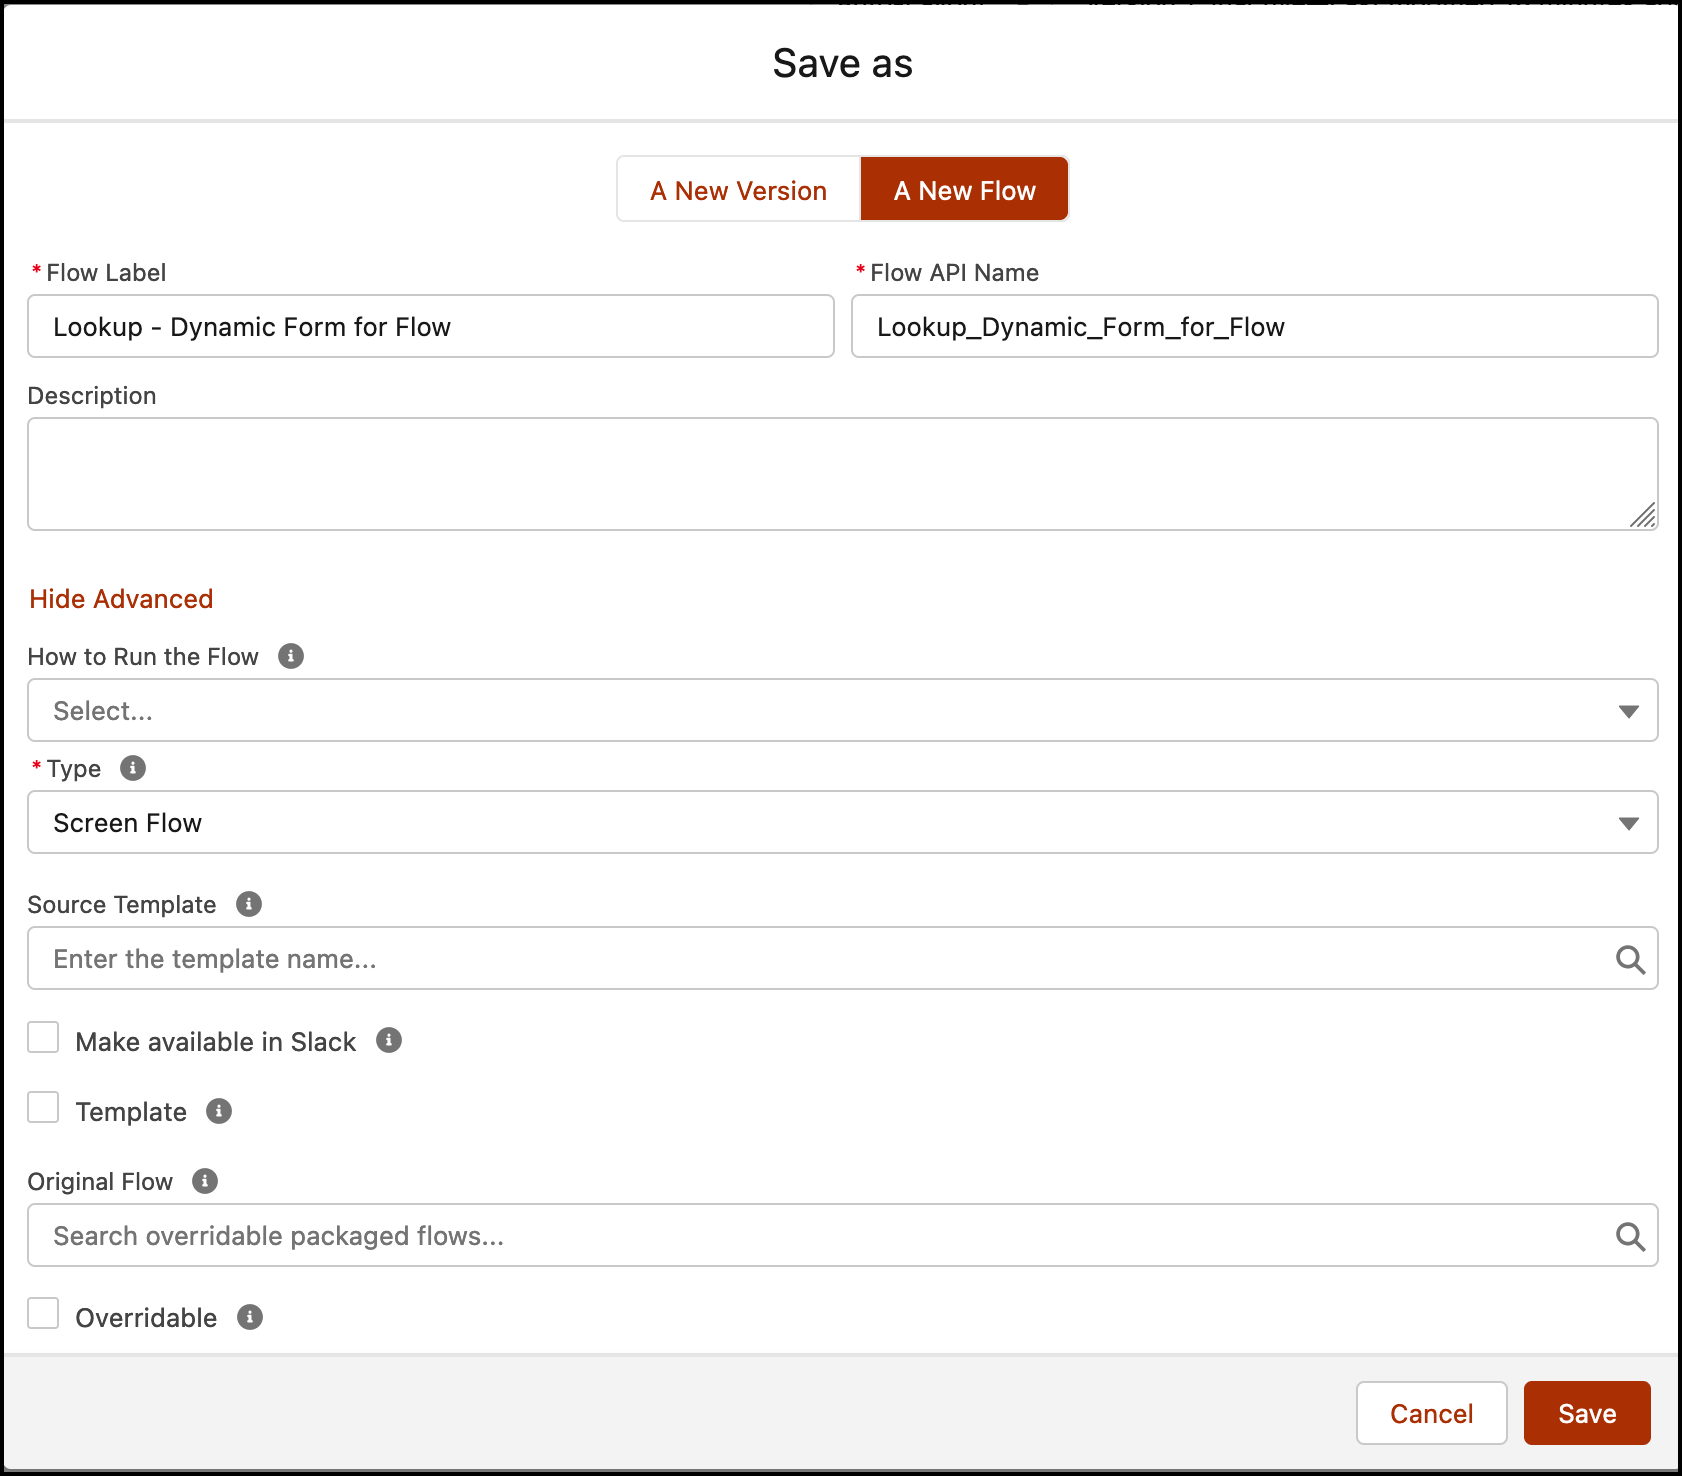
- Click Save.
- Enter the Flow Label the API Name will auto-populate.
- Click Show Advanced.
- API Version for Running the Flow: 57
- Interview Label: Lookup – Dynamic Form for Flow {!$Flow.CurrentDateTime}
- Click Save.
Almost there! Once everything looks good, click the Activate button.
Proof of Concept

Formative Assessment:
I want to hear from you!
What is one thing you learned from this post? How do you envision applying this new knowledge in the real world? Feel free to share in the comments below.


Awesome example and use case.
Another new feature in Spring’23 is the “+ New [object]” feature on the Dynamic Forms for Flow Lookup field. You show it in your example, but don’t demonstrate what it looks like.
I’m struggling to get this feature to work, either in debug mode or when the screen flow is activated and deployed to the Opportunity List Views. Clicking the “+ New Account” option in the lookup field doesn’t do anything.