


Last Updated on February 16, 2022 by Rakesh Gupta
Big Idea or Enduring Question:
How do you create and activate a contract using Salesforce Flow?
Objectives:
After reading this blog post, the reader will be able to:
- Use After-save Record-Triggered Flow to create a draft contract
- Use a Decision element to check field values
- Use the Update Records element to activate a contract
- and much more
Business Use case
Tamara McCleary is working as a System Administrator at Universal Containers (UC). At UC they are using Salesforce to manage their Contracts. Salesforce allows you to create a Contract for an Account. Whenever an Opportunity is successfully closed (Stage: – Closed Won), auto-create a new Contract and activate it. Also, set the following fields
- Contract Start Date = Close date of current Opportunity
- Contract Term (months) = 12.
Automation Champion Approach (I-do):
There are multiple ways to solve the above business requirement. You can either use Apex trigger, a Combination of Flow & Process Builder, and more. To solve this requirement, we will use Salesforce Flow. Before starting the implementation, you need to understand a few things:
- Contract management is the management of contracts made with customers, vendors, or partners. Salesforce also allows you to manage contracts.
- Salesforce doesn’t allow you to insert a Contract with Status = Activated (Either through Data Loader, Workflow Rule, Process Builder, or Flow), if you attempt to do so, you will get an error. In other words, it is not possible to create and activate Contracts in a single step. Contracts must first be added with a Status of Draft, and then after inserting, they can then be updated with a status of Activated.
This article helps you to understand how to auto-create and activate a contract using Salesforce Flow, which will only fire Whenever a record is created, and any time it’s edited to subsequently meet criteria.
To solve this requirement, we will use the After-save Record-Triggered Flow. Check out this article to understand why we are using after-save record-triggered flow for this scenario.
Before discussing it, let me show you a diagram of a Process Flow at a high level. Please spend a few minutes going through the following Flow diagram and understand it. 
Guided Practice (We-do):
There are 4 steps to solve Tamara’s business requirement using Salesforce Flow. We must:
- Define Flow properties for record-triggered flow
- Add a Decision element to check the opportunity stage and account
- Add a Create Records element to create a contract with draft status
- Add an Update Records element to activate a contract
Step 1: Salesforce Flow – Define Flow Properties
- Click Setup.
- In the Quick Find box, type Flows.
- Select Flows then click on the New Flow.
- Select the Record-Triggered Flow option, and click on Create and configure the flow as follows:
- Object: Opportunity
- Trigger the Flow When: A record is created or updated
- Set Entry Criteria
- Condition Requirements: None
- Optimize the Flow For Action and Related Records
- Click Done.

Step 2: Salesforce Flow – Using Decision Element to Check Opportunity Stage and Account
Now we will use the Decision element to check the stage to ensure that it is equal to Closed Won and the Account is associated with the opportunity.
- On Flow Designer, click on the + icon and select the Decision element.
- Enter a name in the Label field; the API Name will auto-populate.
- Under Outcome Details, enter the Label the API Name will auto-populate.
- Condition Requirements to Execute Outcome: All Conditions Are Met (AND)
- Row 1:
- Resource: {!$Record.StageName}
- Operator: Equals
- Value: Closed Won
- Click Add Condition
- Row 2:
- Resource: {!$Record.AccountId}
- Operator: Is Null
- Value: {!$GlobalConstant.False}
- When to Execute Outcome: Only if the record that triggered the flow to run is updated to meet the condition requirements
- Row 1:
- Click Done.

Step 3: Add Action – Create a Record Element to Create a Contract with Draft Status
The next step is to create a record contract in draft status. For this, we will use the Create Records element. Now follow the steps below:
- On Flow Designer, click on the + icon and select Created Records element.
- Input the following information:
- Enter Label the API Name will auto-populate.
- How Many Records to Create: One
- How to Set the Record Fields: Use separate resources, and literal values
- Object: Contract
- Set Field Values for the Contract
- Row 1:
- Field: AccountId
- Value: {!$Record.AccountId}
- Click Add Row
- Row 2:
- Field: ContractTerm
- Value: 12
- Click Add Row
- Row 3:
- Field: StartDate
- Value: {!$Record.CloseDate}
- Click Add Row
- Row 4:
- Field: Status
- Value: Draft
- Row 1:
- Click Save.

Step 4: Salesforce Flow – Add an Update Records Element to Activate a Contract
The next step is to activate the contract. For this, we will use an Update Records element.
- On Flow Designer, click on the + icon and select the Update Records element.
- Enter a name in the Label field; the API Name will auto-populate.
- Click Specify conditions to identify records, and set fields individually
- Object: Contract
- Select All Conditions Are Met (AND).
- Set Filter Conditions
- Row 1:
- Field: Id
- Operator: Equals
- Value: {!Create_a_Draft_Contract}
- Row 1:
- Set Field Values for the Case Records
- Row 1:
- Field: Status
- Value: Activated
- Row 1:
- Click Done.


- Click Save.
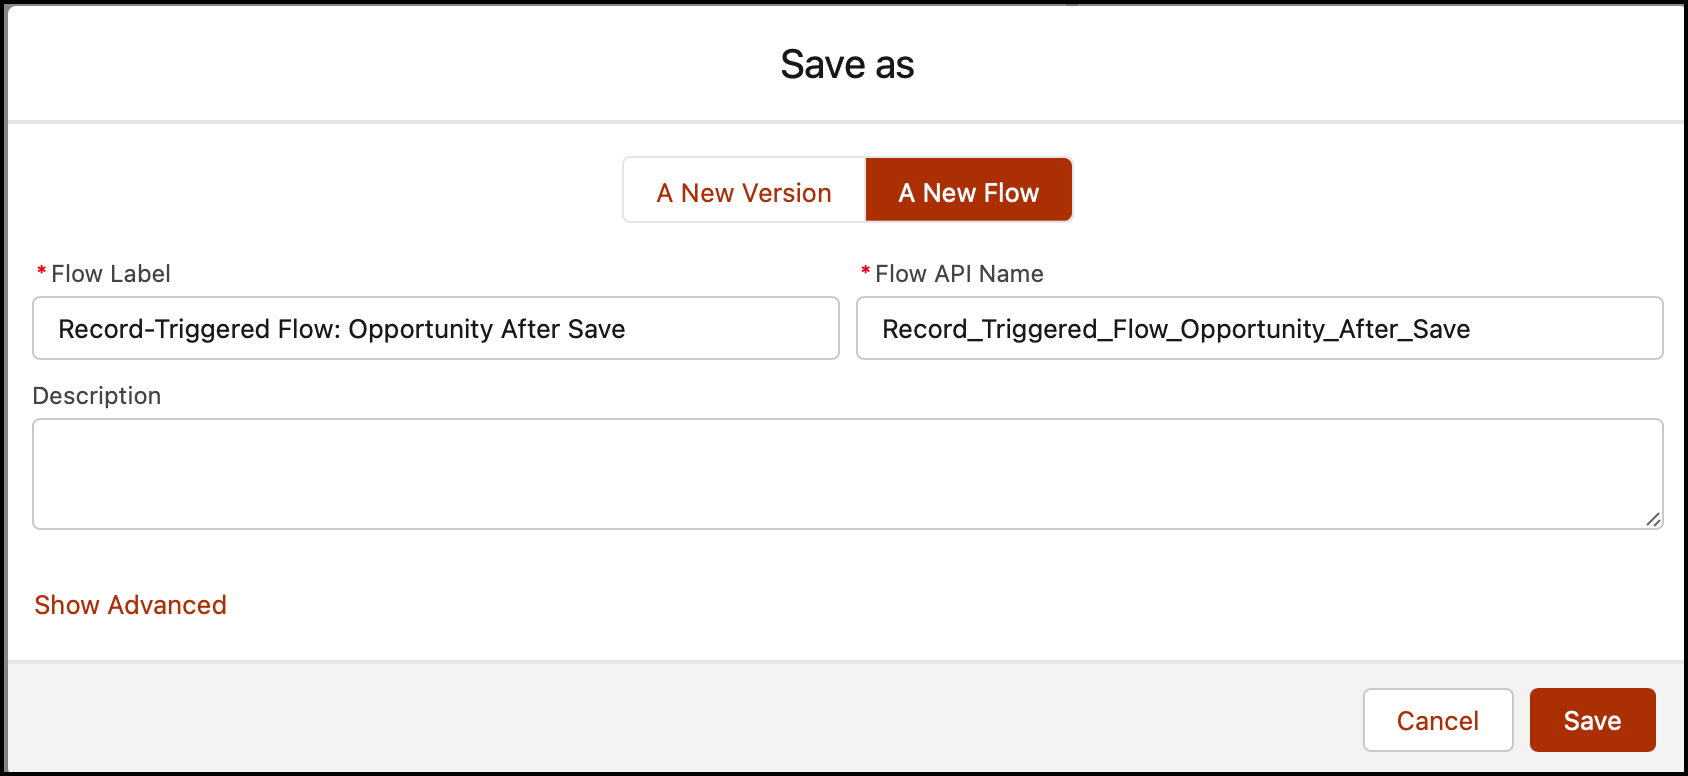
- Enter Flow Label the API Name will auto-populate.
- Click Show Advanced.
- API Version for Running the Flow: 54
- Interview Label: Record-Trigger: Record-Triggered Flow: Opportunity After Save {!$Flow.CurrentDateTime}
- Click Save.
Proof of Concept
Now onwards if a business user updates the Opportunity Status to Closed Won, Salesforce Flow will automatically create a new Contract and activate it. It’s time to test out the process.
- Existing Opportunity – Stage Qualification
- Currently, Opportunity “Edge Emergency Generator” is in the Qualification Stage.

- Currently, Opportunity “Edge Emergency Generator” is in the Qualification Stage.
- Opportunity Stage After Update
- Now we will try to update the Opportunity “Edge Emergency Generator” Stage to Closed Won.

- Now we will try to update the Opportunity “Edge Emergency Generator” Stage to Closed Won.
- New Contract (Status – Activated)
- Once you are done, click on the Save button and check the Contract created by Salesforce Flow.

- Once you are done, click on the Save button and check the Contract created by Salesforce Flow.


Formative Assessment:
I want to hear from you!
What is one thing you learned from this post? How do you envision applying this new knowledge in the real world?
Let me know by Tweeting me at @automationchamp, or find me on LinkedIn.


Hi,
I used this flow logic to create contract when Quote is approved. But this working only when Quote status is updated to Approved. I want a contract to be created even when Quote is created with status approved. I’m getting the following error:
We can’t save this record because the “Create Contract when Quote is Approved” process failed. Give your Salesforce admin these details. This error occurred when the flow tried to create records: REQUIRED_FIELD_MISSING: Required fields are missing: [AccountId]. You can look up ExceptionCode values in the SOAP API Developer Guide. Error ID: 560563556-69714 (-775355710)ook up ExceptionCode values in the SOAP API Developer Guide. Error ID: 560563556-69714 (-775355710)
Make sure to map AccountId when creating contract.
Glad to see quick & yet powerful solution. I used IsWon = True under decision just to be on safe side ( If business want to use different stage name for Close won).
Hi Rakesh is it not possible to place contract activation logic in another action instead of creating a new process?
Once contract record is created in Draft , in another action we can activate it right??
Now it is possible to merge both the process in one
Hi Rakesh,
I have made a small change and try to figure out what we can do now in this scenario?
I have merged both process builder. by creating one more action in first process.
first time it works great when opportunity get closed won.[result = it create a contract and activate it]
now what i did here => i cloned the contract and create 4 new contract with draft status.
i changed the status field of same opportunity and again set to closed won.
NOW I SURPRISED ==> all contracts get activated; [ I hope that only the newly created contract will get update]
can you please help me if I want to update only the new contract then what should I do?
I need some time to think – but the best possible solution is to use Flow – Where Record Lookup element will allow you to sort the record based on CreatedDate or any field.
Nice post Rakesh, please suggest how can we link the Contract (Lookup) standard field once the Contract is created by Process Builder.
Thank you Rakesh, this was just about spot on for a process I needed to build out. If I wanted to go a bit further and have a Contract Payment record created for each month of the term is that something I can achieve with Process Builder as well?
Yes you can, use a scheduled action.
Wonderful! So simple, yet so powerful! Thank you!
Thank you!