

Last Updated on April 3, 2022 by Rakesh Gupta
A few years back I wrote an article Two-factor authentication using Login Flow. It was a huge success. I received several emails from people requesting me to write more use cases around the concept. So, here it is!
Two-factor authentication is a security process in which users provide two means of identification – (1) regular user credential; and (2), typically something memorized, such as a security code.
Login flows gives you the flexibility to build a custom post-authentication process that meets your business requirements. For example, you want two-factor authentication only when a user is trying to log-in from a particular City, Subdivision, Zip code, County or Browser. Let us start with a business use case.
Business Use Case
Martin Jones is working as a System Administrator at Gurukul on Cloud (GoC). He has received a requirement from stakeholders to enable two-factor authentication only when a user (with profile – Sales Rep APAC) is trying to log-in to Salesforce from the cities outside of the following list:
- Mumbai
- London
- Edison
- San Francisco
- Alpharetta
- Chicago
Solution for the above business requirement
To solve this requirement we will use many ingredients – including, Login Flow, Two Flows, Process Builder, Custom Object and Custom Metadata Type. Before trying to understand the technical aspect of the solution, let us spend some time to understand the general flow of our solution at a very high level. Please spend few minutes to go through the following flow diagram and understand it.

Before we proceed further, let us understand LoginGeo – a geographic location of the user’s IP address for a login event – such as, country, city, postal code objects – in Salesforce.
| Field Name | Details |
| City | The city where the user’s IP address is physically located. |
| CountryIso | The ISO 3166 code for the country where the user’s IP address is physically located. |
Steps to solve the above problem
- Create a Custom Metadata Type (Whitelisted_city_mdt) to store cities.
- Create a Custom object (Custom_Authentication__c) to store the verification code.
- Create a Flow (refer Flow #2 in the above diagram) and a Process Builder to update the login city on the custom object record. Every time a user logs in into Salesforce a record in the custom object is created by the Login Flow (refer to step 4 below).
- Create one more Flow (see Flow #1 in the above diagram) known as a Login Flow. This flow will do four things – (1) create a record on the custom object whenever a user logs in into Salesforce; (2) verify the current city with Custom Metadata Type; (3) send the verification code to a user; and (4) pop a screen requesting users to enter the verification code.
Step 1: Create a Custom Metadata Type
- To create a new custom metadata type, navigate to Setup (Gear Icon) | Setup | PLATFORM TOOLS | Custom Code | Custom Metadata Types and click on the New Custom Metadata Type button. Now fill the form as shown in the following screenshot:

- Once you are done, click on the Save button.
- Create a Text field City to store the words that you want to whitelist and make this field a required field. At the end, the Whitelist City custom metadata type should look as follows:

- The next step is to insert a few records into the custom metadata type. To do so, click on the Manage Whitelisted Cities button on the custom metadata type detail page and then, click on New to insert some records, as shown in the following screenshot:

- The next step is to create a custom object to generate the Security Token / Verification Code.


Step 2: Create a Custom object
- To create a new custom object, navigate to Setup (Gear Icon) | Setup | Object & FIelds | Object Manager | Create and click on the Custom Object button. And then, fill the form as follows:

- The next step is to create a formula field to generate a random number for the security token. Please refer to the following screenshot while creating a formula field:

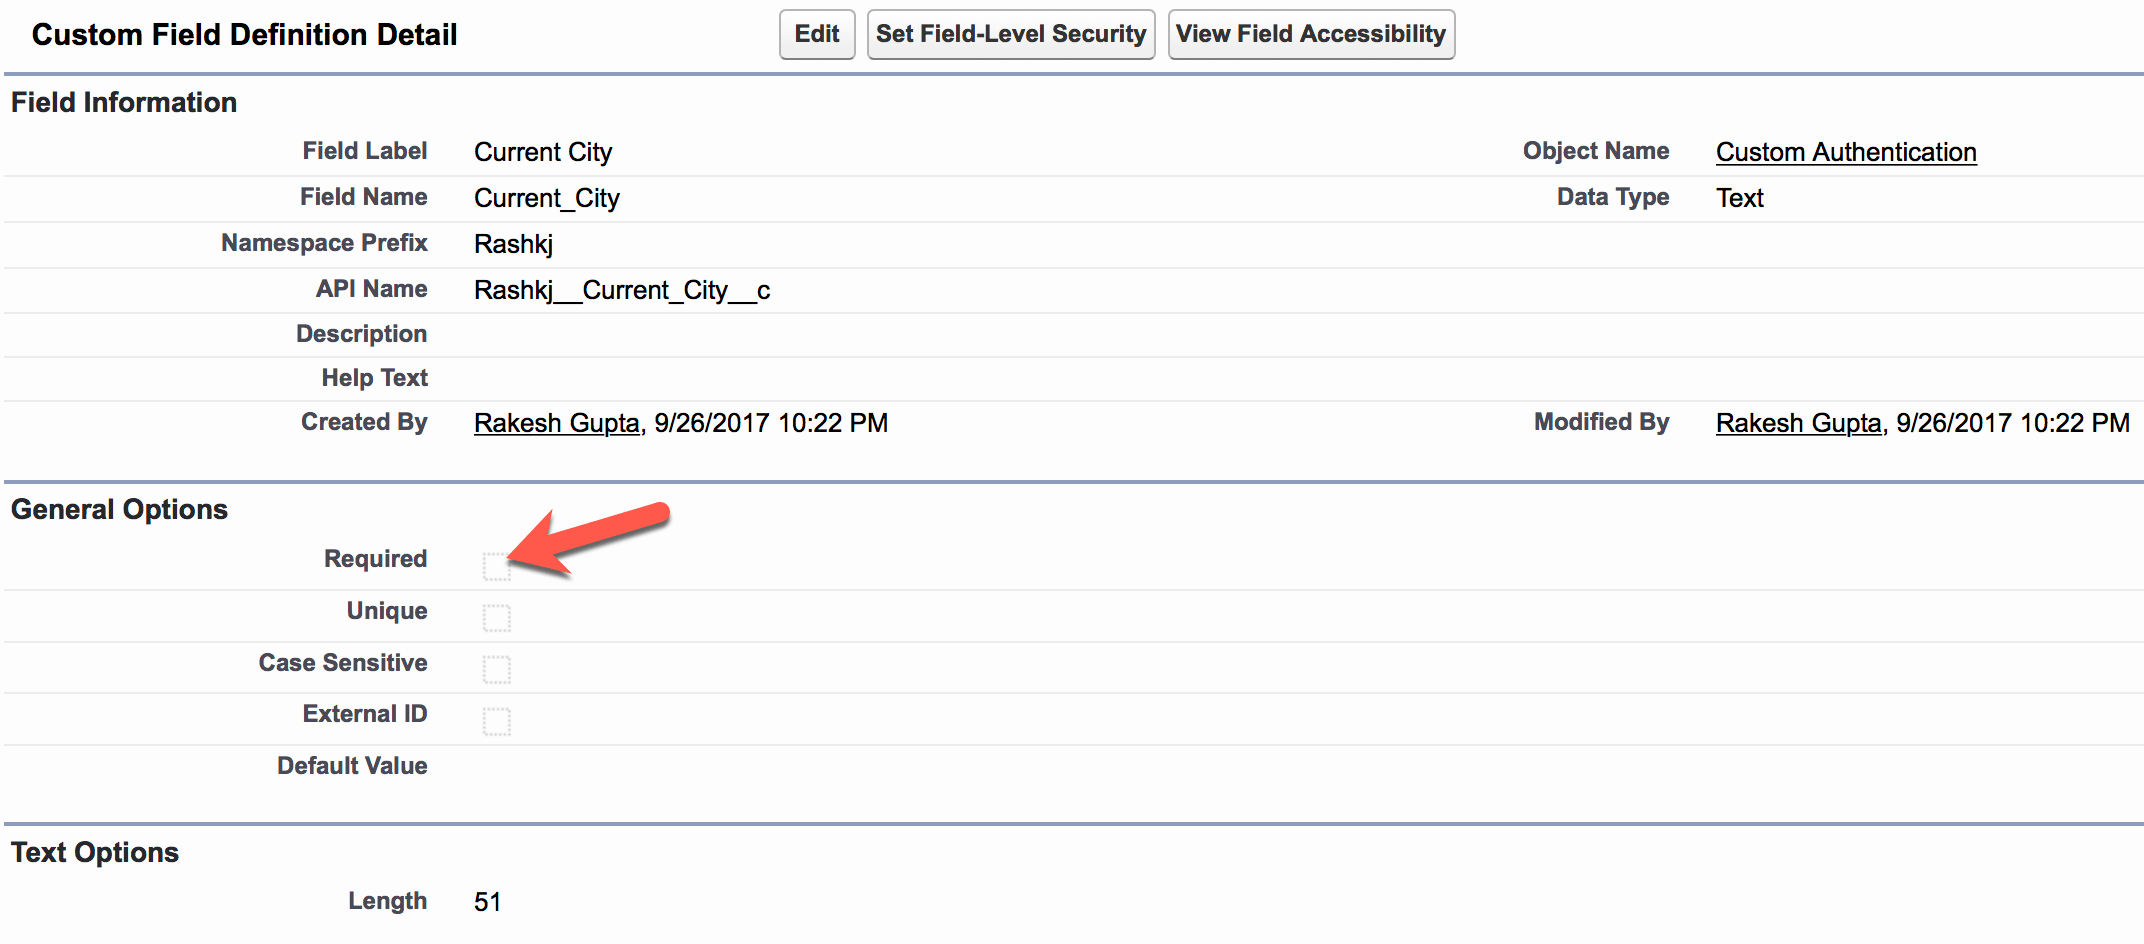
- Now, we will create one Text field to store the current logged-in city. Please refer to the following screenshot while creating a Text field to store the current city:

- Grant following Custom_Authentication__c object Permissions – Create, Read, Edit and Delete – to respective profiles. However, do not create a Tab for it; for, without Tab, no one will be able to access the object from Salesforce UI.


Step 3: Create a Flow and Process to update the current login city on the custom object record
The next step is to create a Flow to update login city on the custom authentication record, i.e. take the user’s current login city from the LoginGeo object and update it on the record Custom_Authentication__c object record created by Login Flow.
- Navigate to Setup (Gear Icon) | Setup | PLATFORM TOOLS | Process Automation | Flows. Click on the New Flow button; it will open the Flow canvas for you. Create variables in the Flow, as shown in the following table:
Name Variable type Object type Input/Output type LoggedInUserID Formula (Text) – {!$User.Id} Not applicable Input and Output VarTCurrentCity Text Not applicable Input and Output VarTCustomAuth_RecordID Text Not applicable Input and Output We will pass the value to VarTCustomAuth_RecordID through Process Builder.
- The next task is to find the user’s current logged-In city. For this, we will use the Record Lookup element. To do this, drag and drop the Record Lookup element onto the canvas; it will open a new window for you. Map the Record Lookup element according to the following screenshot:

- Once we have the user’s current logged-In city, then we have to update the record created by Login Flow. Click on the Palette tab and drag and drop the Record Create element onto the canvas; it will open a new window for you. Map the Record Lookup element according to the following screenshot:

- Use the connector to connect the elements used in the Flow. Finally, your Flow will look like the following screenshot:

- Save the Flow (Type: – Autolaunched Flow) and name it Update City. Then close the canvas. Don’t forget to Activate the Flow.


Launch a Flow from Process Builder
Our next task is to create a Process Builder on the Custom_Authentication__c object to start a Flow. To create a Process Builder on the Custom_Authentication__c object follow the steps below:
- Click on Setup (Gear Icon) | Setup | PLATFORM TOOLS | Process Automation | Process Builder
- To create a new process from scratch, click on the New Button available on the Process Management page. A popup will appear where you have to enter the Name (Use Update current city as a name), API Name, and Description as shown in the following screenshot:

- Click on Object node to add object and then select the Custom Authentication object. For the entry criteria, Select only when a record is created, as shown in the following screenshot. Once you are done, click on the Save button.

- The next task is to add the Process Criteria. To do this, click on Add Criteria. Then, enter Name, Type of action and set filter conditions as shown in the following screenshot:

- The next step is to add an Immediate action to Process. Click on Add Action (Under Immediate actions). Then select the type of action to create (In our case Flows). Use Field Picker to choose the field [FeedItem].Id, as shown in the following screenshot:

- Once done, click on the Save button. You will be redirected to the Process canvas page. Finally, the Process will look like the following screenshot:


Don’t forget to activate the Process by clicking on the Activate button.
Step 4: Create a Login Flow
Now we have to create a Flow and Login Flow to perform the rest of the logic. When a user logs in into Salesforce, Login Flow will behave as a gatekeeper and check the user’s current city with one we have saved in custom metadata type. Based on the city, it will allow the user to either access Salesforce or, send a security code for further verification.
- Navigate to Setup (Gear Icon) | Setup | PLATFORM TOOLS | Process Automation | Flows. Click on the New Flow button; it will open the Flow canvas for you. Create variables in the Flow, as shown in the following table:
Name Variable type Object type Input/Output type LoggedInUserID Formula (Text) – {!$User.Id} Not applicable Input and Output LoggedInUserEmail Formula (Text) – {!$User.Email} Not applicable Input and Output VarNSecurityCode Number (Scale: 0) Not applicable Input and Output VarTCurrentCity Text Not applicable Input and Output VarTRecordID Text Not applicable Input and Output SocCityList SObject Collection Variable Whitelisted_city__mdt Input and Output SovCityList SObject Variable Whitelisted_city__mdt Input and Output - Create a new record to generate a Security Code. We will email this code to the user only when he/she is logged-In from a city that is outside of the whitelisted cities. Click on the Palette tab and drag and drop the Record Create element onto the canvas; it will open a new window for you. Map the Record Create element according to the following screenshot:

- At this point, the process that we created in step 3 (refer section step 3: Create a Flow and Process to update the current login city on custom object record) will fire and update the record with the currently logged-In city.
- The next step is to find the Current City and Security Code form the record we have just created. Click on the Palette tab and drag and drop the Record Create element onto the canvas; it will open a new window for you. Map the Record Create element according to the following screenshot:

- The next step is to get all the cities from custom metadata type. For this, we will use the Fast Lookup element. To do this, drag and drop the Fast Lookup element onto the canvas; it will open a new window for you. Enter detail as follows:
- Name: Enter the name for the Fast Lookup element. In this case, enter Find whitelisted cities as the name.
- Unique Name: This will be auto-populated based on the name.
- Description: Enter a meaningful description.
- Look up: Select the object for which you want to search the records. In this case, select Whitelisted_city__mdt. The next task is to define the search criteria; for this, select City__c as the field, the Is null as the operator, and the global constant {!$GlobalConstant.False} as the value.
- Variable: Use the SObject Collection Variable SocCityList. Do not forget to select the Assign null to the variable checkbox if no records are found. Finally, select the fields whose values you want to store in the SObject variable or SObject Collection variable; in this case, select City__c.

- Please note, in this blog post, I am ignoring all negative scenarios to reduce the length of the post. Now we will use the Loop element to extract records from the SObject Collection variable (SocCityList) and store it to the SObject variable (SovCityList). Click on the Palette tab and drag and drop the Loop element onto the Flow canvas. Map the Loop element according to the following screenshot:

- The next task is to check whether VarTCurrentCity – i.e. whether the Current logged-In city – matched with the whitelisted cities or not. To check this, we will use the Decision element. To do that, drag and drop the Decision element onto the canvas; it will open a new window for you. Enter the details as follows:
- Name: Enter the name Match City
- Unique Name: This will be auto-populated based on the name.
- Description: Enter a meaningful description.
- Outcome: Enter the name Current city match with whitelisted one as EDITABLE OUTCOME. Select the variable {!SovCityList.City__c} as Resource, then equals as Operator, and {!VarTCurrentCity} as the value
- Also, add Do not match as DEFAULT OUTCOME.

- Now there are two possibilities – (i) Either a User logs in from a city that falls under the whitelisted cities list; if this is the case then, we have to delete the record that we have created in the very first step of this Flow. Or, (ii) a user logs in from a city that does not fall under the whitelisted cities list; in this case, we have to send a Security code to the User.
- Let’s handle the first scenario and delete the record – as the user is currently login from a city that falls under the whitelisted cities list. Click on the Palette tab and drag and drop the Record Delete element onto the canvas; it will open a new window for you. Map the Record Delete element according to the following screenshot:

- Now, we will handle the second scenario – where a user logs in from a city that does not fall under the whitelisted cities’ list. Click on the Palette tab and drag and drop the Send Email static action onto the canvas; it will open a new window for you. Map the Send Email static action element according to the following screenshot:

- Let’s handle the first scenario and delete the record – as the user is currently login from a city that falls under the whitelisted cities list. Click on the Palette tab and drag and drop the Record Delete element onto the canvas; it will open a new window for you. Map the Record Delete element according to the following screenshot:
- The next step is present a screen to a user where he/she can enter the Security Code. Click on the Palette tab and drag and drop the Screen (Give the name Enter security code) element onto the canvas; it will open a new window for you. Map the Screen element according to the following screenshot:
Name Data Type Required Security Code Number (Scale: 0) Yes  You can customize the screen as you want. I have added a couple of Display Text to make it more professional.
 - The next step is to verify the Security Code (that was emailed to the user) and Security Code entered by the user. To check this, we will use the Decision element. To do that, drag and drop the Decision element onto the canvas; it will open a new window for you. Enter the details as follows:
- Name: Enter the name Verify security code
- Unique Name: This will be auto-populated based on the name.
- Description: Enter a meaningful description.
- Outcome: Enter the name Match as EDITABLE OUTCOME. Select the variable {!VarNSecurityCode} as Resource, then equals as Operator, and {!Security_Code} as the value
- Also, add Not match as DEFAULT OUTCOME.

- The final step is to add a Screen element to display a message – this, in case, a User fails to enter the correct security code. To do this drag and drop a Screen ( Give the name Code not match) element onto the canvas; it will open a new window for you. Map the Screen element according to the following screenshot:

- Use the connector to connect the elements used in the Flow. Finally, your Flow will look like the following screenshot:

- Save the Flow (Type: – Flow) and name it Two Factor Authentication. Then, close the canvas. Don’t forget to Activate the Flow.
- At the end, we have to create a Login Flow for the profile Sales Rep APAC as per our business requirement. To create a new Login Flow, navigate to Setup (Gear Icon) | Setup | SETTINGS | Identity | Login Flows and click on the New button. Now fill the form as shown in the following screenshot:

- Once you are done, click on the Save button.


It’s time to test the Login Flow!
Now, if a User with profile Sales Rep APAC tries to log in from a city that does not fall under the whitelisted cities’ list, the Login Flow will send him/her security code.

email sent by Login Flow with Security Code

Now, enter the security code (with comma 14,913 or without comma 14913), as shown in the following screenshot:

That is it for today. If someone with profile Sales Rep APAC tries to login from a city that falls under the whitelisted cities’ list then, the user will be redirected to Salesforce without displaying Login Flow.
–> If you like this article, or would like to share some ideas for enhancements then, please do so. I will very much appreciate it. Thanks in advance.
Note: – I am thankful to Smartcloud.io, and Resco.net for sponsoring my blog.
Technical Editor and Proofreader: - Munira Majmundar


How do you change the logo displayed on the login for screen. Ours displays the Salesforce logo only and this isn’t good for a customer community.
Brand the login page.
Hi @Rakesh,
your Two factor authentication is not working in Internet Explorer 11,Can you please suggest how to resolve this issue?